Homemade Trick Or Treat Bags including my Glowing Eyes
from this previous post
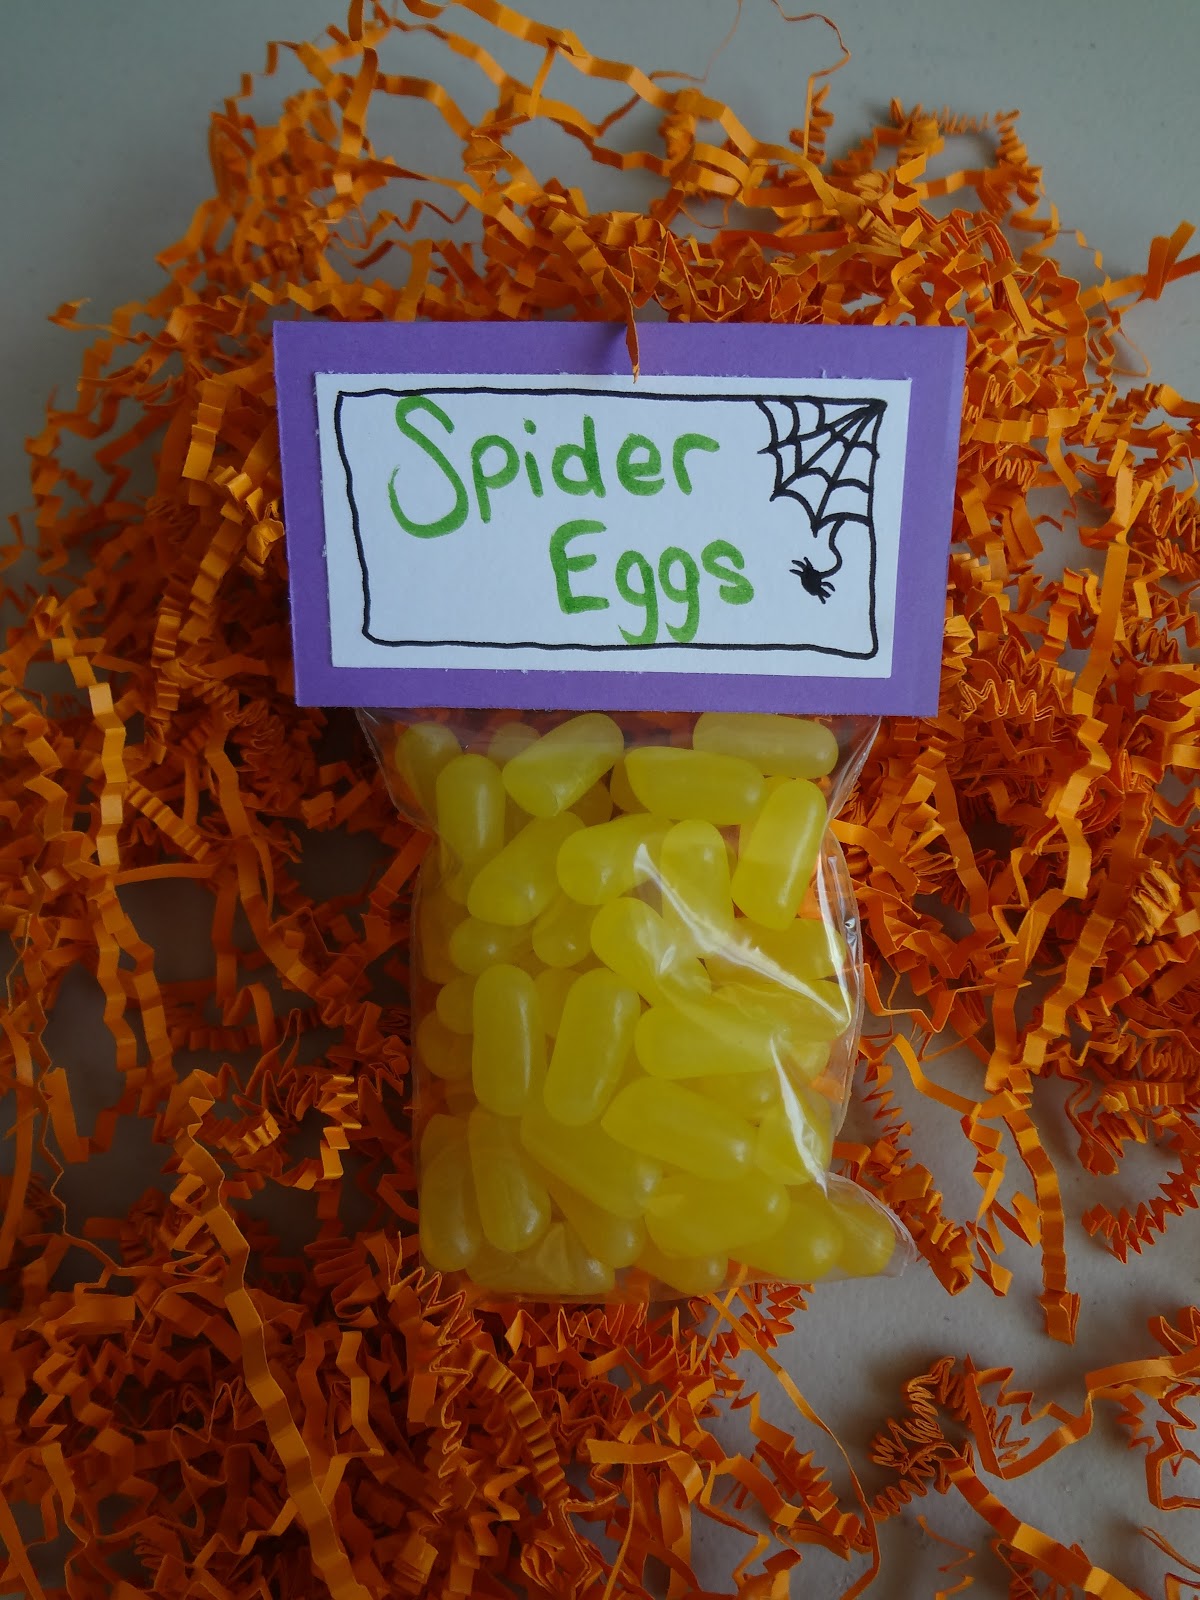
Supplies:
Felt in various colors to create your Bat, Witch, Ghost....whatever you want.
1~ pair of Glowing eyes (see previous post)
1~ 18"x31" piece of Halloween print fabric ...tip: cut it on the fold
1~ 18"x31" piece Pellon~ Extra Heavy Stabilizer
1~ 1"x30" piece of Black felt for lining
2~ 2"x15" piece of Black Fabric for Handles... something sturdy
1~ 6"x5" piece black felt
2~ 1 1/2" pieces of velcro
Cut all your pieces of fabric Pin Pellon piece to Halloween fabric
Pin your Felt design a few inches from the top center
Sew around edges of bat ( We'll just use Bat as our example piece in this tutorial). Cut out circles for just the pellon on the back. I simple put a eyeball on the back where I thought they would look good and traced around it and cut that out. Then I sewed around the eyes.
Fold your Halloween/pellon piece in half length wise with right sides together and sew both sides...NOT top. Do the same to the lining piece.
It should start to look like a bag
Stick your hand inside the bag and get the corners to flatten out. Make sure your seam is centered.
Now we need to mark the corners so we can get that box shape. We are still working with both our pieces wrong side out. It will be 4" from the tip or if you have a clear ruler 8" across....meaning the top left corner of the the first block to the top right corner of the 8th block. My pen is pointing to the 4th box on the ruler. Mark it with a pen or with pins. Do this to both sides and the lining
Sew along line and cut corner off.
Iron edges on bottom and along sides. I actually do it right side AND wrong side out. I really want it to keep a box shape.
Get your 5"x6" felt piece and 2 velcro pieces. Make sure you have your lining and bag right side out. Place felt piece ontop of your Bat eyes so that the eye area is completely covered and even. Smoosh lining piece up to Bat face...like they are kissing and transfer the felt piece to the lining. You are pretty much trying to line up this flet flap to the bat eyes. Sew the bottom ONLY of the Flap felt piece to the lining.
Sew the Velcro pieces the the top left and right of the flap. I used the soft fuzzy side on the flap and the rougher piece on the liner.
Get your 3" handles an d press them in half. Sew along both sides
The bag should be right side out. I marked each corner with a pin. Have the front of the bag face you. You want to place your handle 1" to the center of the bag from the pin marking the top right. Then add the other end of the handle on the back side of the bag . Make sure your handle is not twisted. The handles are not placed traditionally placed since I want the from of the bag to face forward when the kids hold the bags of for treats. Pin the handles.
Place the bag inside the liner so that right sides are touching. Make sure you get your handle all the way sandwiched in and not hanging out. Start pining the seams together first so they match and then all the way around. You want to mark a 4" space where you will leave the seam open to turn it right side out.....make sure it is NOT an area with handles. I always mark my 4" area with double pins.
Sew all around except 4" area and then turn it right side out. I always start with pulling the lining out and then the rest. I pull the entire lining straight up to get the seam spread a bit and then stuff it back in.
Straighten the seam so that the black lining is inside the bag, then iron the entire way around the bag. Pin the 4" area so that it matches the rest and sew a zig zag stich all around the top.
Sew around the eye area again so that ALL layers are sewn together BUT make sure your felt flap is DOWN and not getting sewn shut. Take an Exacto knife and slice a * astric shape. Make sure you are not cutting into the other side of the bag or threw the felt flap.
Pop your Glowing eyes through each hole and turn them on. You then close the Felt flap and it is done!
Happy Halloween and be safe Trick Or Treating