Showing posts with label flowers. Show all posts

Thursday, August 8, 2013

Daisy Corkboard's - IKEA Project

I recently attended a blog mixer to celebrate IKEA's new catalog.
After enjoying a nice breakfast and chatting with my fellow bloggers, we all had a chance to check out some of there great products. They also had a educational class on there comfy mattress sets, where we were taught the difference of how each material works and which material is best for your body. Then we of course all took a nap (JK) and tested the mattress's out ourselves.

IKEA is a fun store to not only check out there display rooms (office, bedrooms, kitchens) upstairs ,where you get a ton of inspiration, then downstairs you have more of a store/warehouse set up. I found items for future projects left and right. 
Check out there catalog: Here you can either download it to your computer, ipad or phone.


One of my great finds was a 3 pack of heat trivets for $2.99.  You can find here
these are normally used for putting a hot pot or dish on.

But I had much different plans for these babies. 
Because they are made of cork, I instantly thought of making some decorative cord boards for one of my walls. 

Ta-Da... see how cute these are. I made the flower background out of recycled cardboard and modge podged decorative scrapbook paper onto the cardboard. Once dry then I applied glue with my glue gun unto the back of the cork round and then applied directly to the middle of the flower. 
Now you can tack your important messages or notes onto the cork board. 


Happy Crafting!!!

Carrie


Thursday, August 1, 2013

Bathroom Wall Art - Epic WIN


I am doing the happy dance.
uh huh, oh yeah

After my epic fail a couple days ago, I was determined to make this work.
If you want to check out the epic fail click here

So I figured while I was redoing it, I might as well make a few adjustments that will help this artwork last longer. My first attempt I used Card Stock, this time I grabbed 2 slats from a venetian blind and cut them up. Because after I put up the first set I thought to myself " hmmm card stock and moisture, not sure if that's a good idea". So after thinking about it for a while I thought of these slats that i had. and thought "hmm there plastic, plastic & moisture, purrrrfect".

The only reason I have these extra slats is because they broke off the blind and they were replaced by new ones. 

supplies I used for this project:
  • 2 off white venetian blind slat's
  • scissors
  • hot glue gun & glue
  • washi tape
  • chipboard or recycled cereal boxes
  • 3 different colored scrapbook paper 12x12
  • glitter modge podge
  • tacks


Let me know how you like my win on this project

Happy Dance!!

Carrie


Linky Parties


So You Think You're Crafty

Tuesday, July 30, 2013

Bathroom Wall Art - Epic Fail


I know, I know I have been really slacking on posts lately. 
So your going to love this one. 
We recently moved to our basement bedroom (because it's cooler down there, oh course) So my bathroom down there is lacking a little me. So I wanted to add some pop to my walls and still match my awesome shower curtain. 


To make the flower petals, Cut 1 1/2" wide strips of cardstock paper.
Outer Petal: 12" long
Middle Petal: 9" long
Inner Petal: 6" long
I used 3 different colors per flower.
Mix it up. 
Start from the Inner Petal, Hot glue the ends together, now add the middle petal, then the outer petal. Once your petal is completely glued together. Arrange the 5 petals and then hot glue the ends together. The next step will show you how to make the circle for the middle of your flower.


Using cardboard from cereal boxes or such, cut out 2 size circles (3 each). one 3" and the other 2" circles. grab your fantastic washi tape in the colors that you are working with. cover the circles with wash tape. then mount the 2" circle onto the 3" circle with mounting tape so that it has some dimension. I also took a black marker and drew a black line around the entire edge of both circles (not shown in above photo.


Using 2"circles again, put washi tape on them, outline with black marker and use for the butterflies. (I also made 3 extra 3" circles to just apply randomly on the wall.  To make the butterfly. You need (2) 11"x1" strips and (1) 5"x1" strip of cardstock. Starting with one of the longer strips, hot glue the ends together, repeat with 2nd strip, then glue both strips together. taking one side at a time. bend the loop to look like a top heavy, put glue in the crease and press. this makes the wing, now repeat on the other side. hot glue the 2" circle ontop of the wings. Bend the last strip in half curl the ends outward and then glue on back side of circle. tadahhh.

This was a fun project and adds that extra special pop.

Happy Creating!!

Carrie

Here is what the wall looked like the next morning.
Off I go to tweet and make it work. stay tuned!!!


Friday, June 7, 2013

Wizard of Oz Shoot!!

On the last leg of my Oregon coast trip we we're driving between Cannon Beach and Portland. This is a gorgeous stretch of road, everything was budding and green. We came across this old run down house and I just had to stop and take a couple photos. It is part of my Wizard of Oz collection because it reminded me of the farmhouse that the famous Kansas tornado picked up and dropped in the magical land of OZ. 


The next set of photo's was a massive field of these red flowers. 
I decided to add these also to my Wizard of Oz collection.
I know that the flowers were poppies in OZ. 
but seeing this massive field covered in red flowers, screamed OZ to me. 
I kept seeing dorothy, toto, the lion, scarecrow and the tinman waltzing across this field, rejoicing in the fact that the Emerald City would be on the opposite side of the field. almost there.
It was an amazing sight.
I hope you all enjoy this series of photos.


Happy Viewing!!!

Carrie

Saturday, May 4, 2013

A Stroll Thru the Tulips


I have been dying to capture more of the spring loveliness that is all around us here in the salt lake valley. Me and my honey went downtown to the walk around Temple Square. The Temple is always gorgeous but today it was surrounded by thousands of tulips and blooming trees. So I had fun with my photo shoot and brought home lots of winners. Here are a few for you to enjoy.


Not sure what kinds of flowers these are. If any of you know please let me know. 


Happy Snapping!!


Linky Parties

Tuesday, April 16, 2013

Flower & Feather Hair Clip Tutorial


It is one of my sisters birthdays today. 
So i decided to surprise her with a happy birthday balloon, 
a cupcake from Sweet Tooth Fairy and a homemade hair clip.


To Make my hair clip you need the top 4 layers of flowers.
Layer 1: Large Crocheted Mallorie Flower (one of my own designs)

Layer 2: Colored Vinyl (found at joann's in the area that has fabric on big rolls)
Layer 3: a smaller 5 petal flower
Layer 4: this flower was cut out from a piece of sheer material with tons of flowers on it.


Step 1: Stitch Layer 1 & 2 together.


Add some feathers, tuck underneath  

 Sew Layer 3 on.                            


Sew on Layer 4


Add a pearl in the middle of layer 4 and a clip to the back and your finished.

Happy Crafting!!


Linky Parties


Take A Look Tuesday
Handmade Tuesday
Kitchen Fun & Crafty
Get Your Craft On
Show Me What Ya Got
Market Yourself Monday
 Made By you Monday
Blog Hop, Baby!

Sunday, March 17, 2013

Purse Upcycle Part 1


My favorite purse is finally falling apart enough that I have to get a new one. 
I was having a hard time just tossing out my beloved purse. 
So I have decided to take this opportunity to upcycle it into other things.
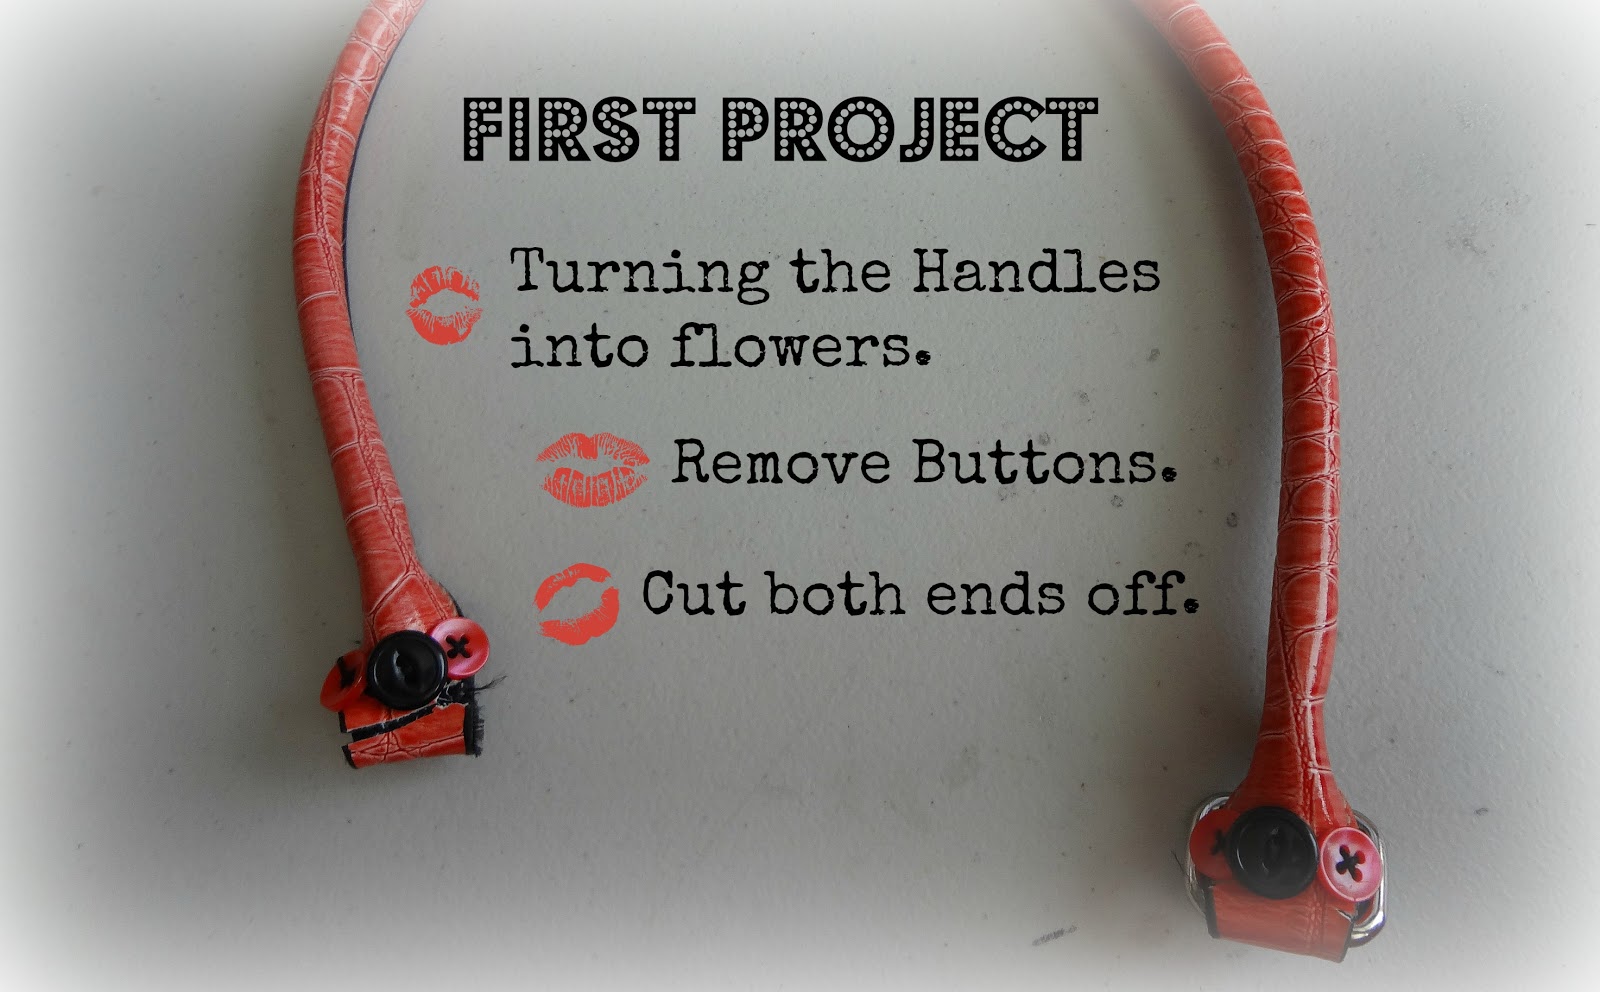
My first project is turning the handles into flowers for my hair.


So I cut off the handles , removed the buttons (which were from a prior project where I fixed the handles months ago). Then cut the ends off.


Use tweezers or your fingers, grab the core and pull it clean out.


Cut notches into the handle roughly 1/2" apart.


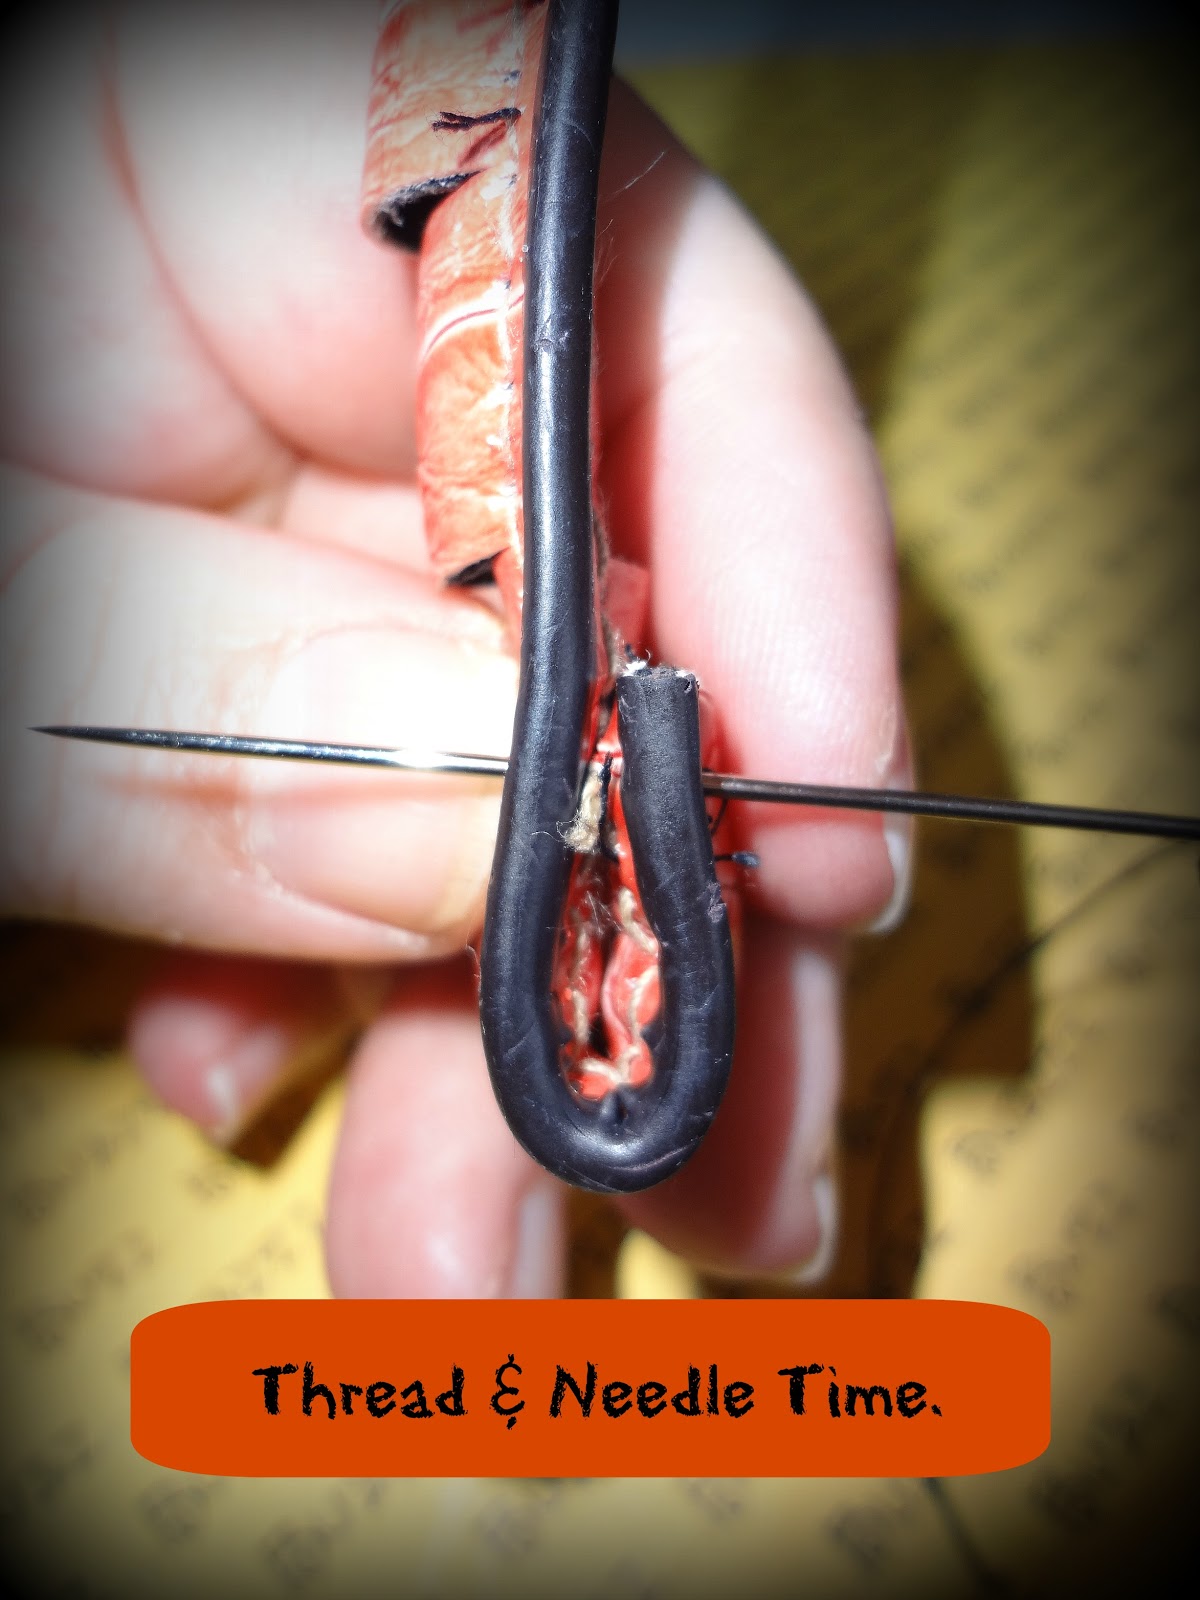
To sew the flower. bend over one of the ends and start stitching it from seam to seam.
continue to turn and stitch until you get to the other end.

   The finished flower. I think it is fantastic.


Happy sewing!


Linky Parties:

Creative Jewish Mom
Simply Designing
cozy little house
homeworkI Heart Nap TimeBWS tips button
DIY Show Off
Sumo's Sweet StuffSew Chatty


PJH Designs
My Uncommon Slice of SuburbiaA Diamond in the Stuff


A Bowl Full of Lemons
Weekend Bloggy ReadingSixSistersStuff.comChef In Training
_
Creations by Kara