Showing posts with label flower. Show all posts

Saturday, June 22, 2013

Faux Leather Flower Hairclip Tutorial


The tutorial for today is a fantastic faux leather flower hair clip.

Supplies I used:
faux leather
Tim Holtz - Copper Mixatives alcohol ink
Mister Huey's - Dark Calico color mist
Beads in multi colors/shades
Sponge Brush
glue gun & glue
needle & thread
snap on & snap on clip


Start by drawing a single pedal (i roughed mine)
then I grabbed a piece of white faux leather that I recycled from the cover of an old address book.
trace 5 petals (with pencil) on the back (smooth side) and then cut them out.


To make a petal, pinch in the middle and then sides of the bottom of the petal. it will look like an accordion. Take thread and needle and stitch through the bottom a couple times and tie off.
Arrange the petals in the arrangement that looks best for you.
Now grab that needle and thread again and run through the bottom of each one until you have all of the petals attached on one string (top R. photo). pull the string tight and tie off. Too secure the petals from not moving. apply a dab of hot glue on the tip of the middle section, let dry. turn over and put another dab of glue to the middle of the back, let dry. Now it is ready to color and bling.


working on one petal at a time, I applied 2 drops of the copper alcohol ink and then using a sponge brush, spread all over the petal. It is ok if you can still see the white coming through. Finish all 5 petals, then move to the next step. Now spray a little of the color mist on a piece of plastic or paint palette. dip same sponge brush into the mixture and brush lightly around the edges of the petals adding a bit more darkness and depth.  Paint job done and now to finish the flower I grabbed 3 different shades and sizes of pearl beads and with the hot glue gun again i added beads until i was happy with the end result.


Flower finished. I decided to attach my flower to a snap on clip so that the flower could be used for more than a hairclip. I have snap on claws that it can snap on to also. this way I can attach it to an outfit or a bag. the possibilities are endless. 

Happy Creating!!

Carrie

Linky Parties


Six Sister's Stuff                            Tatertots and Jello                  Nifty Thrifty Things
Home Stories A to Z                     Ladybugs Blessings              Not Just A Housewife
Sugarbees Craft                          Todays Creative Blog

Tuesday, May 7, 2013

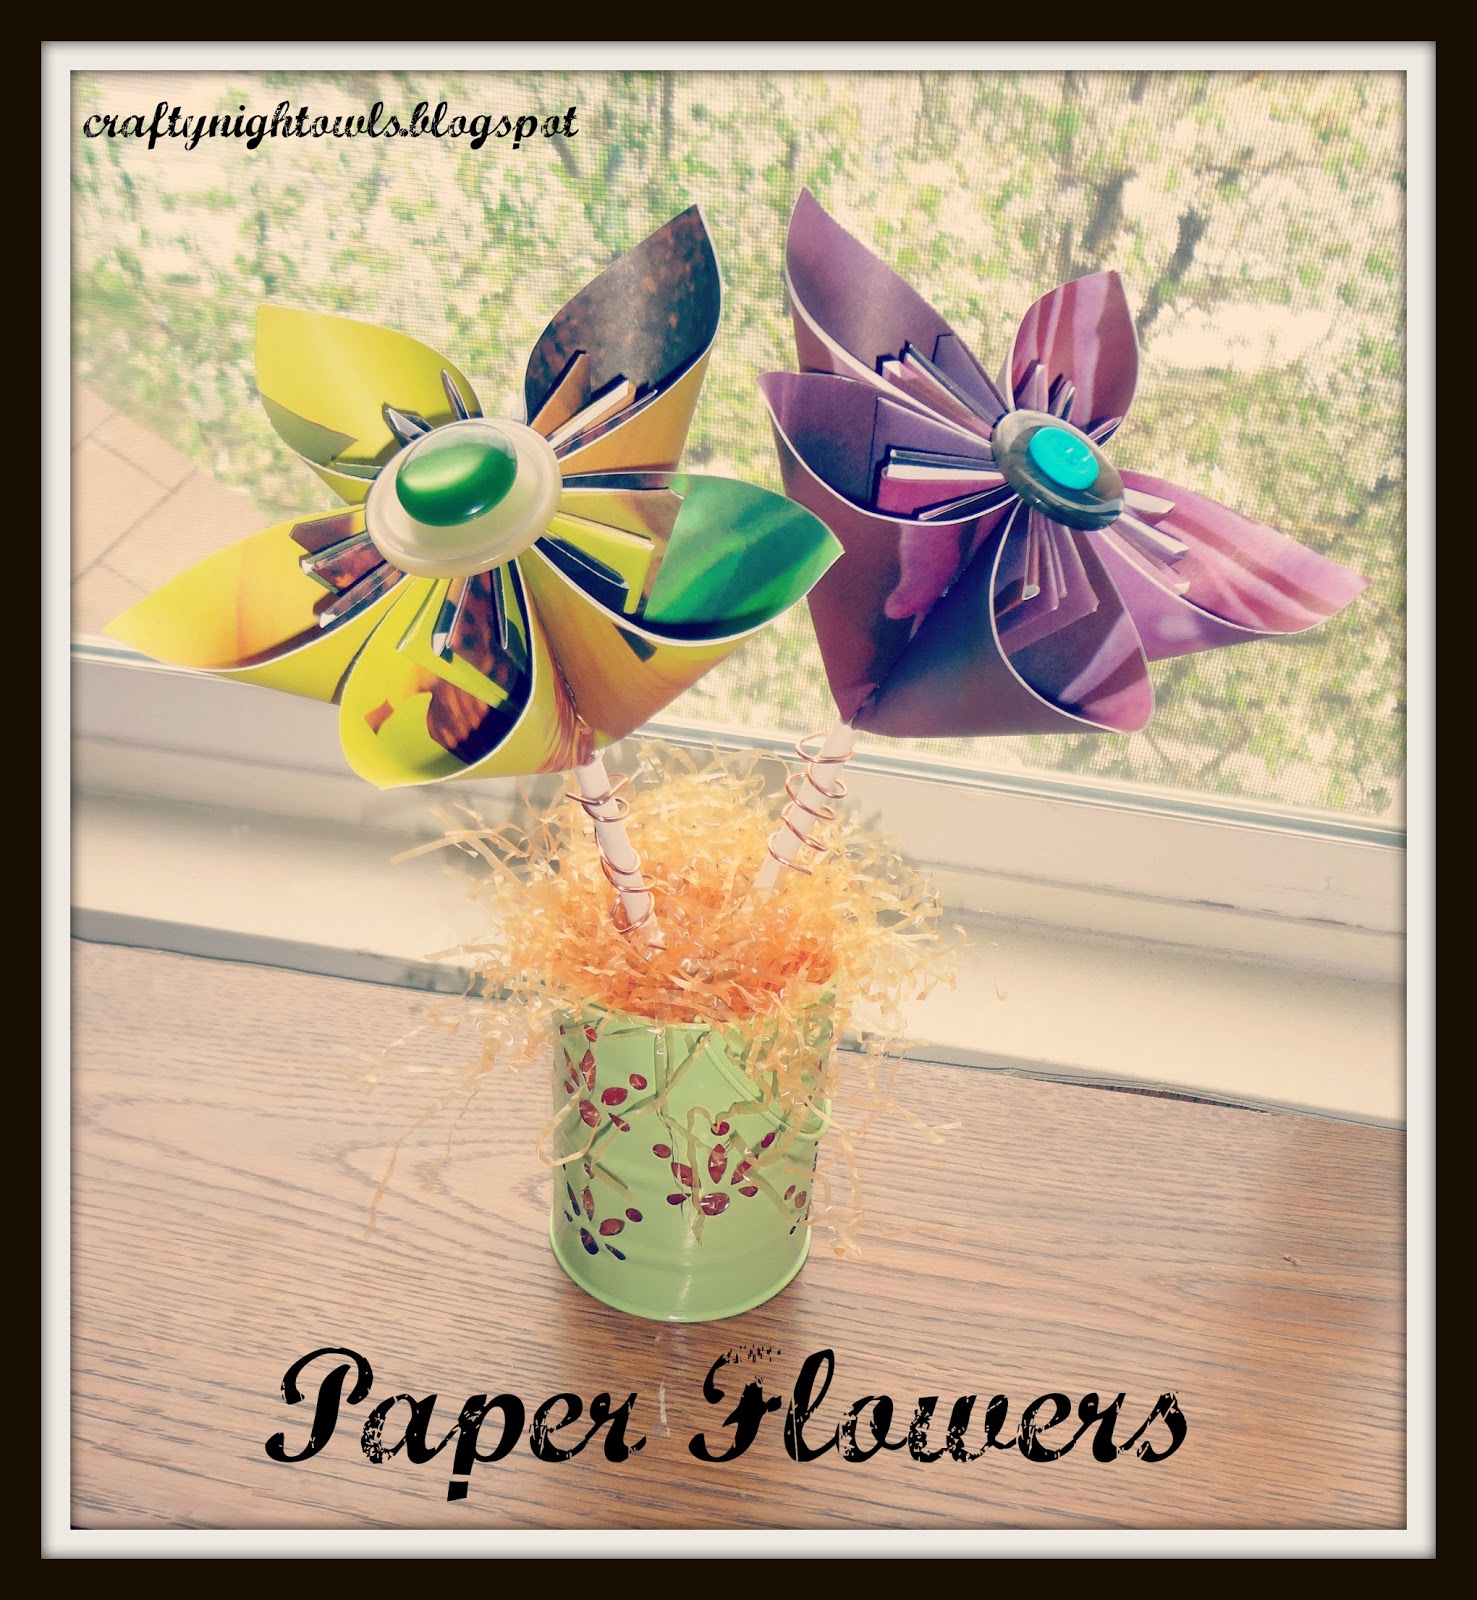
Paper Flower Tutorial


I am a flower snob sometimes and a lot of the flowers out there don't fit my liking. 
Until I came across these flowers on Pinterest. All the pins I came across were for etsy shops or just photos. So I made some myself and am passing on the tutorial.


From Top L
1. cut 5 squares of paper (mine were 6")
2. fold in half like a triangle
3. fold both sides up
4. open folds and flatten sides down
5. tuck the tops of the sides inward and crease
6. Fold in sides so you have to flaps on each side.
7. glue outer flaps together.
8. Assemble Petals & glue
9. Your Finished
now you can add gems or buttons or any fun things on top.

Happy folding!!!


Linky Parties


Tutorials & Tips                      Handmade Tuesday
Show Me What Ya Got       Take A Look Tuesday
Create & Share                       Get Your Craft On
Metamorphasis Monday           Monday Funday
Craft-O-Maniac Monday    Whatever You Want Wednesday
It's Party Time!                       Lil Luna Link Party
Wow Us Wednesday        Whatever Goes Wednesday
What I Whipped up Weds           Round Up

Saturday, March 16, 2013

Easter Garland


I had an exciting, fun filled night with some terrific gals last night. 
I recently joined a local craft group that gets together once a month.
This month we made these fantastic Easter garland.
Thanks so much Emily for putting this project together.


Each garland came with 1 shamrock, 1 bunny head, 1 carrot, 1 flower and 2 eggs.
We started off with chipboard cutouts of these shapes.
Then we choose which scrapbook paper(s) we wanted to use.

So you take the chipboard cutout, turn it upside down onto the back of your scrapbook paper and trace.
cut out the paper flip it over and glue the paper to the chipboard. easy peasy.
Then you can add embellishments to the tops of the cutouts or leave them. 
To make into a garland, we punched 2 holes into each cutout. one on each side. 
then took wire and looped through holes and twisted off (you can curl the ends if you like.)
Last but not least add strips of colorful fabric and tie onto the wire using knots. 

If you have any questions please let me know.

Happy Easter Everyone!!!


Linky Parties:


Weekend Bloggy ReadingSixSistersStuff.comOr so she says 

whats cooking with ruthie
your home based mom
lollyjane
young and crafty
a glimpse inside blog