Showing posts with label party. Show all posts

Thursday, June 27, 2013

Twilight Chess Pieces - Great for throwing a Twilight Party


This is my first ever craft project that I used wash tape on. I have been dying to make these and so I set some time aside yesterday and tackled this project. These are the perfect table or food area display for a twilight party. If you are a twilight fan you know that chess pieces, apples, ribbons and striped tulips are the go to designs for twilight anything. Namely because these are the items pictured on the front of the 4 book series. Also the color theme usually is black, red and white. 

Supplies needed for this project:
  • wood chess pieces (I purchased mine from oh my crafts)
  • washi tape
  • paint
  • paint brush
  • masking tape
  • exacto knife or scissors (much easier with exacto knife)


I started off by painted the edges black. (see pictures below)
Because I was sloppy I also got black on the front and back of the piece and ended up having to also paint the front and back black. If you are careful during this step you can eliminate the masking tape all together.


This photo shows you why I had to use masking tape. Because the block is black the wash tape isn't as clear and crisp like it should be. the below photo shows how the top part of the piece does not have masking tape underneath and the bottom part does.


With this particular chevron washi tape there are 2 different looks you can get from this just by the way you place the next piece. the top part shows what it would look like if you continued the chevron pattern all the way up. the bottom shows how by moving the design over a little you will end up with a row of diamonds in between the chevron rows. I choose the diamond look.


This next photo shows the steps I took to cover the front and back of the pieces . 
Step 1: (Top Right) Cover entire piece with rows of masking tape.
Step 2: (Left) Apply rows of washi tape making sure you match up the dots, stripes, etc. 
Step 3: (Bottom Right) using your exacto knife, hold the overlapping tape with your left hand                     and slowly a sharp blade and a up and down motion, cut around the edges of the piece.


When I applied the striped washi tape. I decided to do it from top to bottom instead of side to side.
I started applying the tape to the middle first and the moved outward. When laying down the stripes I overlapped the last red stripe onto the first red stripe of the previous row.


These turned out so good, you can always add ribbon around the middle, darken the edges,  or even bling it up more.

Happy Twilight Party!!!

Carrie

Linky Parties


Lil Luna                          Someday Crafts                     the 36th Avenue C.R.A.F.T Craft-O-Matic Skip to my Lou Sumos Sweet Stuff The Dedicated House

Tuesday, May 7, 2013

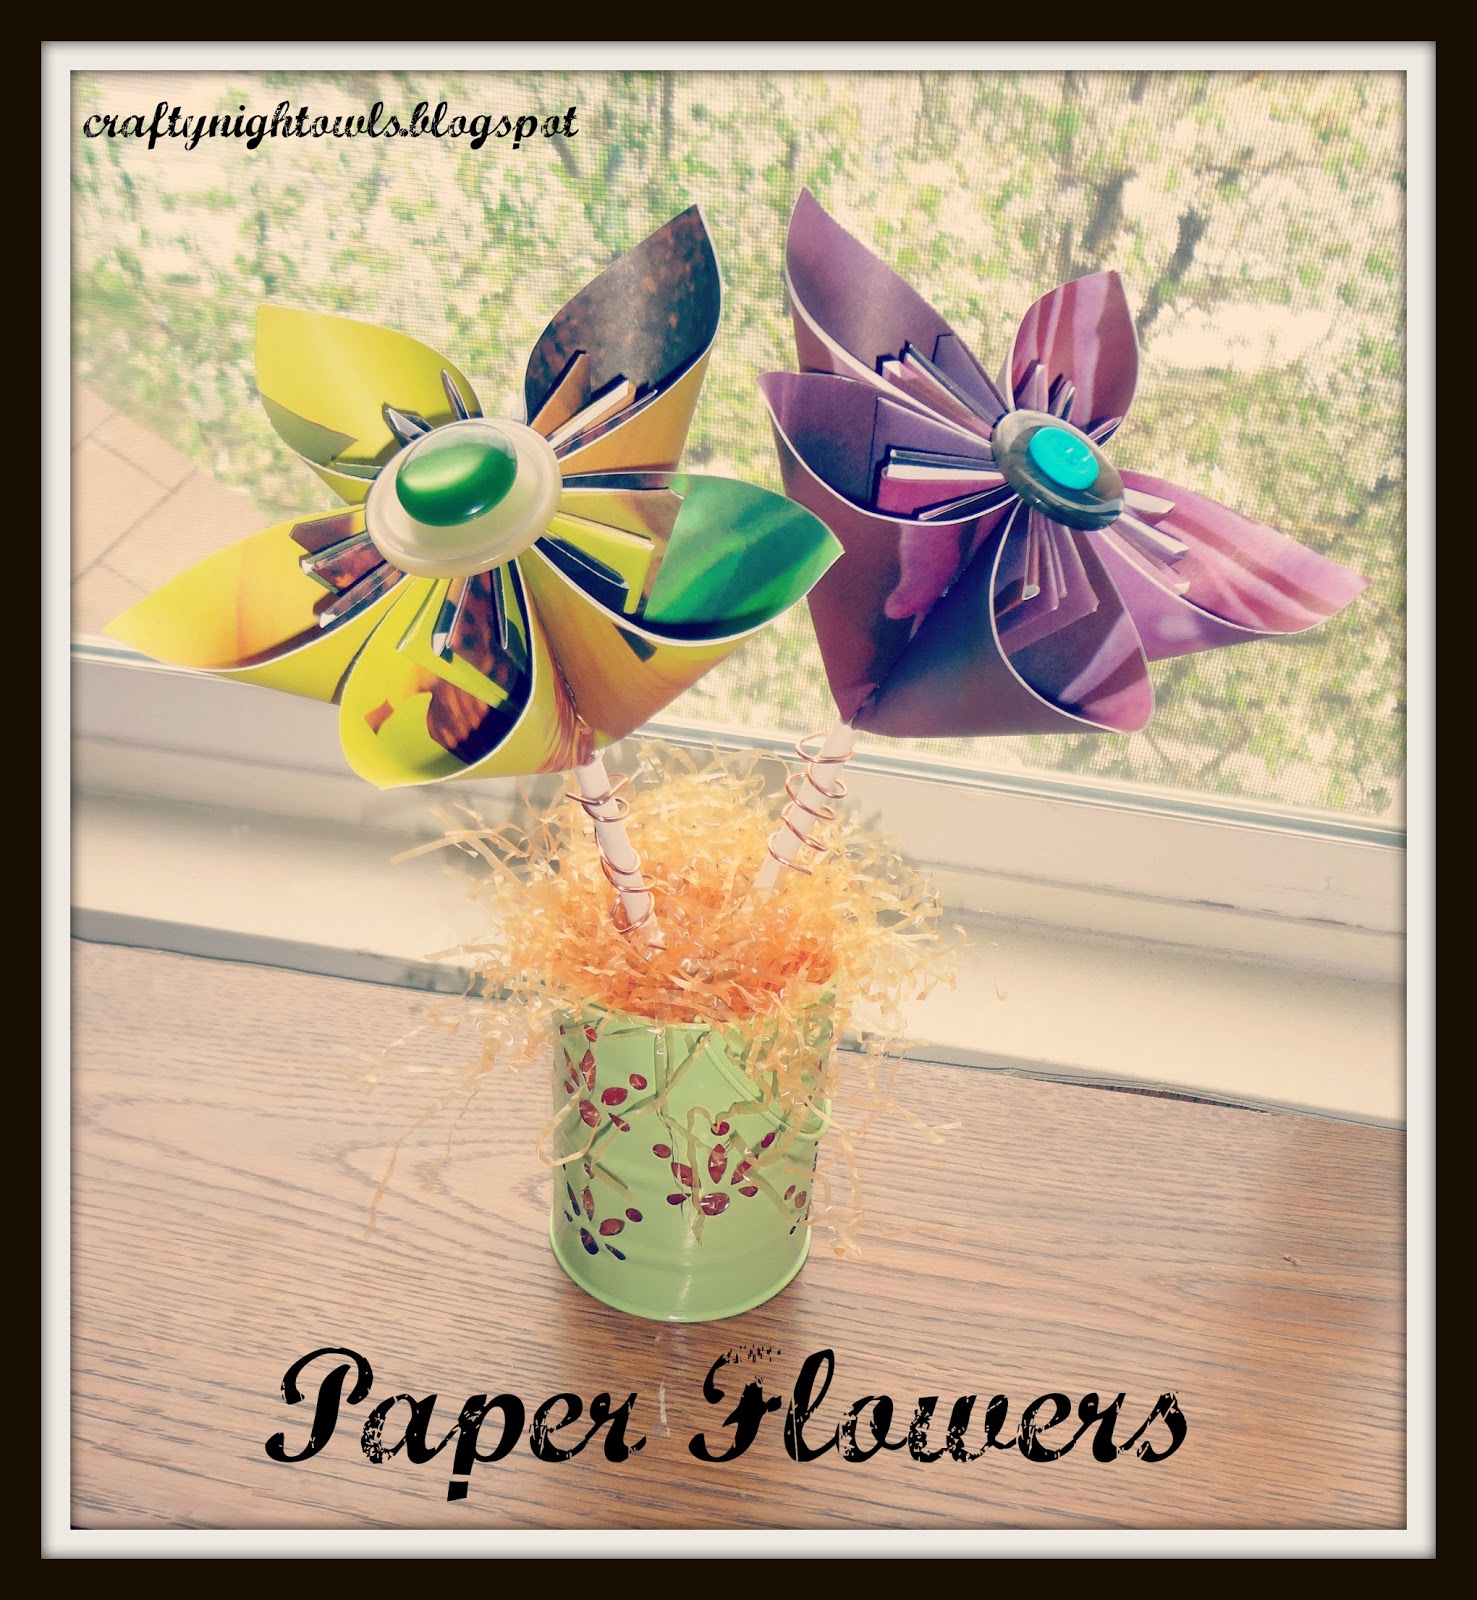
Paper Flower Tutorial


I am a flower snob sometimes and a lot of the flowers out there don't fit my liking. 
Until I came across these flowers on Pinterest. All the pins I came across were for etsy shops or just photos. So I made some myself and am passing on the tutorial.


From Top L
1. cut 5 squares of paper (mine were 6")
2. fold in half like a triangle
3. fold both sides up
4. open folds and flatten sides down
5. tuck the tops of the sides inward and crease
6. Fold in sides so you have to flaps on each side.
7. glue outer flaps together.
8. Assemble Petals & glue
9. Your Finished
now you can add gems or buttons or any fun things on top.

Happy folding!!!


Linky Parties


Tutorials & Tips                      Handmade Tuesday
Show Me What Ya Got       Take A Look Tuesday
Create & Share                       Get Your Craft On
Metamorphasis Monday           Monday Funday
Craft-O-Maniac Monday    Whatever You Want Wednesday
It's Party Time!                       Lil Luna Link Party
Wow Us Wednesday        Whatever Goes Wednesday
What I Whipped up Weds           Round Up

Thursday, November 8, 2012

Bubblegum Bracelets

Bubblegum Bracelets Tutorial
Hey Hoots. Here is a easy and fun kids craft you can do with your owlets. It can be for a party, ANY holiday  or just for something to do. I plan on doing this at my kids next birthday party!!!I really like the candy corn one I did on the top right. The only drawback to this craft is your kids want to start eating the bracelet the minute it is finished and on their wrist. LOL  Highly successful though!

Supplies:
 * Large or Small Gumballs in a variety of color.....
                  8 Large for adult/ 6 Large for Child
                  9 Small for Adult/ 7 Small for Child
*Ribbon in any color....I used purple and brown 1/4" Ribbon
*Metal Skewer Sticks
*Large Eyed Needle....remember you need to get the ribbon     through the eye.
*Needle nose Pliers....Optional, but extremely helpful.
We first start with putting a hole in each gumball. You may need to soften the bubblegum a little ...so microwave for 15 seconds.
Puncture each gumball with the metal skewer stick. Then barely poke it through the other side so you know where the hole goes and then I pull it out and puncture it directly where it is marked. Sometimes if you go all the way through is make the opposite end crack a lot. Once you have ALL your gumball poked with holes it is time to start stringing them up.
Cut each ribbon 24" long.

Fold your Ribbon in half and tie a knot in the middle. Place a Needle on one end. (I usually fold my Ribbon in half to get it through the needles eye)
This is when I would hand it over to each kid. They would place whatever color/size gumball they wanted on the needle. Once they pushed it as far as they could down the needle I would have them hand it back.
The eye of the needle was always a little too big to go through the gumball...so I would always have to use needle nose pliers to finish getting it through.
Once you get the gumball through the Needle, tie a knot and then hand it back to your little owlet and let them put on another gumball. Dunk, Rinse, Repeat. Half of the gumballs on one side of the middle knot and the other gumballs on the other half.


Tie each bracelet on their wrist and see them smile and beg to have a gumball to eat NOW!!!


Wednesday, October 24, 2012

Bunco Party

Bunco Party!!!

Me and my sister Janel were in charge of hosting our Bunco party in September.
So what came to mind when we were planning it. 
PINK, PINK, PINK
We wanted to have a fun girly filled evening. 
Here is a shot of how the living room looked after being set up for the night.
 Rules for throwing a Bunco Party are posted at the end of the photo shoot...

 When it came to food, we instantly thought lets have a dipping feast.
So we cut up cucumbers, strawberries, apples.... 

 broccoli, cauliflower, celery....
 sponge cake, french bread, yellow cake.. 
 Not shown other than the dipping oil.. we also had a veggie dip and a chocolate dip.
 these fun frilly things were are dipping instruments. 
they are bbq skewers with frilly fabric on top.


Each person had a table setting. 
1 bunco sheet, a pen, a purse name place, a drink with matching striped straw and a homemade PINK lip sucker, made by shauna. 


 for dessert we had high heel cupcakes. 
these not only were fun but they tasted great too. 


Bunco Rules

Summary

  • There are six rounds in each set of Bunco. Each table has at least 3 players each (you need at least 8 people to play). The bell signals the beginning and the end of each round.
  • Players earn points by rolling three dice. In each round, players are trying to roll the same number as the number of the round (for example, rolling
       in Round 3). One point is awarded for each number rolled that matches the round number. A player continues rolling until no points are scored. The dice then pass to the player on the left. The round is over when the one player reaches 21 points.
  • At the end of each set you tally up all your points in that set and print at the bottom of your sheet, the person with lowest and highest scores change tables. 
  • There are 4 categories you can win in at the end of the night. the most BUNCOs, Highest Score, Lowest Score, Host Spot (this is a random spot on your scoring sheet, if you win that round you win the Host Spot Prize)

Equipment

You can start with a boxed Bunco game or, for a more customized experience, you can buy the components separately:
And, if you like, include food, drinks, and dice-themed decor!

Getting Started

  • Place three dice, Bunco table tallies or scratch paper, and pencils on each table. A bell is placed on the Head Table (known as table #1).
  • Four players should sit around the table and the players sitting opposite each other are partners for the first round.
  • Each player gets one Bunco score card. At the end of each round, the individual player's score is recorded on the score sheet.

Rolling and Scoring

In each round, players score points when the number shown on any die is the same number as that round. One point is awarded for each matching number rolled.
For instance, in Round 1, the object is to roll    (three ones); If the player rolls two ones, the player receives two points and rolls again.
In Round 2, the object is to roll    (three twos); If the player rolls a single  the player receives one point and rolls again, and so forth. If a player rolls three of the number of the round being played (example:    in round 4), that's a BUNCO. A BUNCO is worth 21 points. If any player rolls three of another number (example: rolling    in round 4), the player receives 5 points.

How to Play

The Head Table signals the start of play by ringing the bell. Then one player at each table picks up the three dice and rolls them to start the round. Each die is read separately (they are not added together).
Round 1, each "ONE"rolled is worth a point.
Round 2, each "TWO"rolled is worth a point.
Round 3, each "THREE"rolled is worth a point.
Round 4, each "FOUR"rolled is worth a point.
Round 5, each "FIVE"rolled is worth a point.
Round 6, each "SIX"rolled is worth a point.
  • Rolling three-of-a-kind of the same number of the round you're on is a BUNCO. For example, rolling    in Round 4 or    in Round 5 is a BUNCO. The player must call out "BUNCO!" to receive 21 points, and then must keep rolling (unless the player is sitting at the Head Table in which case she would ring the bell signaling the end of that round.)
  • Rolling three-of-a-kind other than the number of the round you're on is worth five points. For example, rolling    in Round 4 is worth five points.
  • A player continues rolling until no points are rolled.
EXAMPLE: Round 1 Head Table(Each   rolled is worth one point)
Bell is rung by the Head Table to signify start of the round. 
Player #1 (Scorekeeper) rolls...
 two 's are rolled. Player earns 2 pointsand continues rolling...
 one   is rolled. Player earns 1 more point and continues rolling...
 no 's rolled. No more points earned and dice are passed clockwise to the next player.
The player writes down 3 points on the Bunco table tally.
Player #2 rolls...
one  is rolled. Player earns 1 point and continues rolling...
one  is rolled. Player earns 1 more pointand continues rolling...
no 's are rolled. No points earned and dice are passed clockwise to the next player.
The player writes down 2 points  on the Bunco table tally.
Player #3 rolls...
three of a kind are rolled (but not a BUNCO). Player earns 5 points and continues rolling...
no  is rolled. No points earned and dice are passed clockwise to the next player.
The player adds 5 points on the Bunco table tally.
Player #4 rolls...
 - A BUNCO - this is the end of this round


Finalizing Your Score

When the rounds are completed, count up all your scores at the bottom of your sheet, also count up all your buncos.

Prize Categories (Optional)

If you choose to set up award categories, here are some suggestions:
  • Most Buncos
  • Highest Score
  • Lowest Score
  • Host Spot

Each month a different gal in our group hosts the bunco party at there home. 
each player contributes $5 each month (this money goes towards food and the 4 prizes)