We all end up with left over strips of wrapping paper when wrapping our gifts. So instead of throwing them out reuse them and turn them into some fun curls to decorate the top of your gift.
Fold a strip of wrapping paper in half. having the crease at the top is important.
Now if you aren't comfortable cutting in straight lines or are a bit of a perfectionist then take your ruler and draw lines down your paper. You can choose how wide the stripes are.
Leave at least a 1/4 on an inch at the top the won't be cut. This is the side that has been creased.
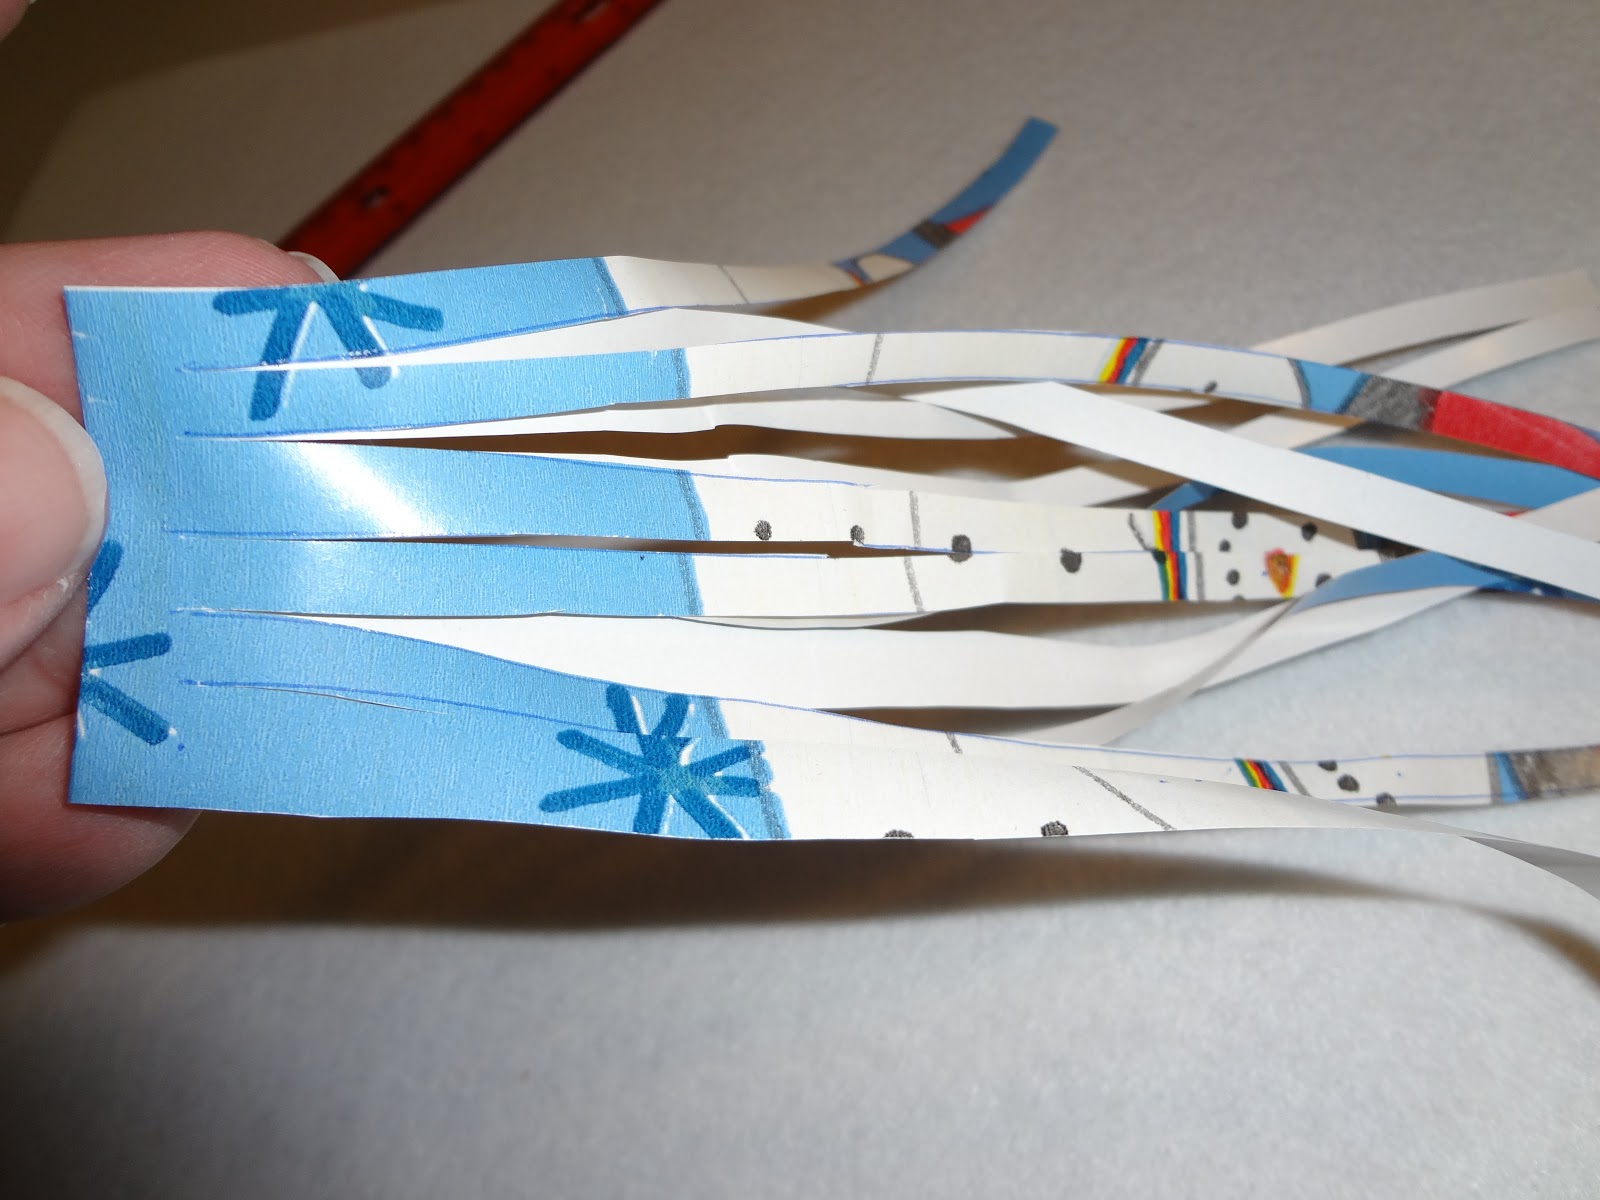
take your scissors and cut up each line. remember stop at the end of the line. Do not cut all the way through.
Open your scissors and place one of the tips of the scissors on the underside of the 1st strand.
you are going to CAREFULLY run your scissors down the back of the strand. this will curl it. Don't pull to hard or the strand will break off.
Here is what your curls will look like once you are done with each strand.
I always fold the creased side in half and then place a piece of tape over the fold.
Now place on your wrapped gift.
To make a gift tag with more of your leftover wrapping paper. Cut around one of the designs. I chose to cut around one of the snowflakes.
Once I cut the 1 snowflake out I applied glue to the back of it and applied it to the backside of another piece of wrapping paper.
then cut around the snowflake again.
I folded over a square piece of leftover paper and applied my snowflake and took a black marker to it.
It would have also been very fun to turn one of the snowmen on the paper into a tag.
Hope you have some fun with this new technique.