Showing posts with label scrapbook. Show all posts

Monday, June 10, 2013

Mini Beach Scrapbook


I finished one of my mini scrapbooks. I haven't put pictures in it yet, but since I just came home from an Oregon beach trip I choose to make my BEACH scrapbook from BoBunny.


Here is what it looked like before.
this was a 6 x 12" My Word Chipboard Album
With this blank slate there was so much room for creativity.

So grab some decorative scrapbook paper, ribbon, brads, eyelets, adhesive, glitter, sparkly gems and anything and everything.


the front of the "B"was covered in scrapbook paper and 4 colors of ribbon tied to the side of the B.


Backside of "B" and Front of "E" was covered in scrapbook paper.
I left this open for photos. 4 colors of ribbons tied onto the top of "E".


Backside of "E" covered in plaid pink scrapbook paper. Photo or saying area was done in yellow and blue with brown swirls and bronze and white brads, topped off with a polka dotted pink & white flower.


Front of "A" same as opposite side, but this side has a strip of green ribbon. also 4 colors of ribbon tied to side of "A".
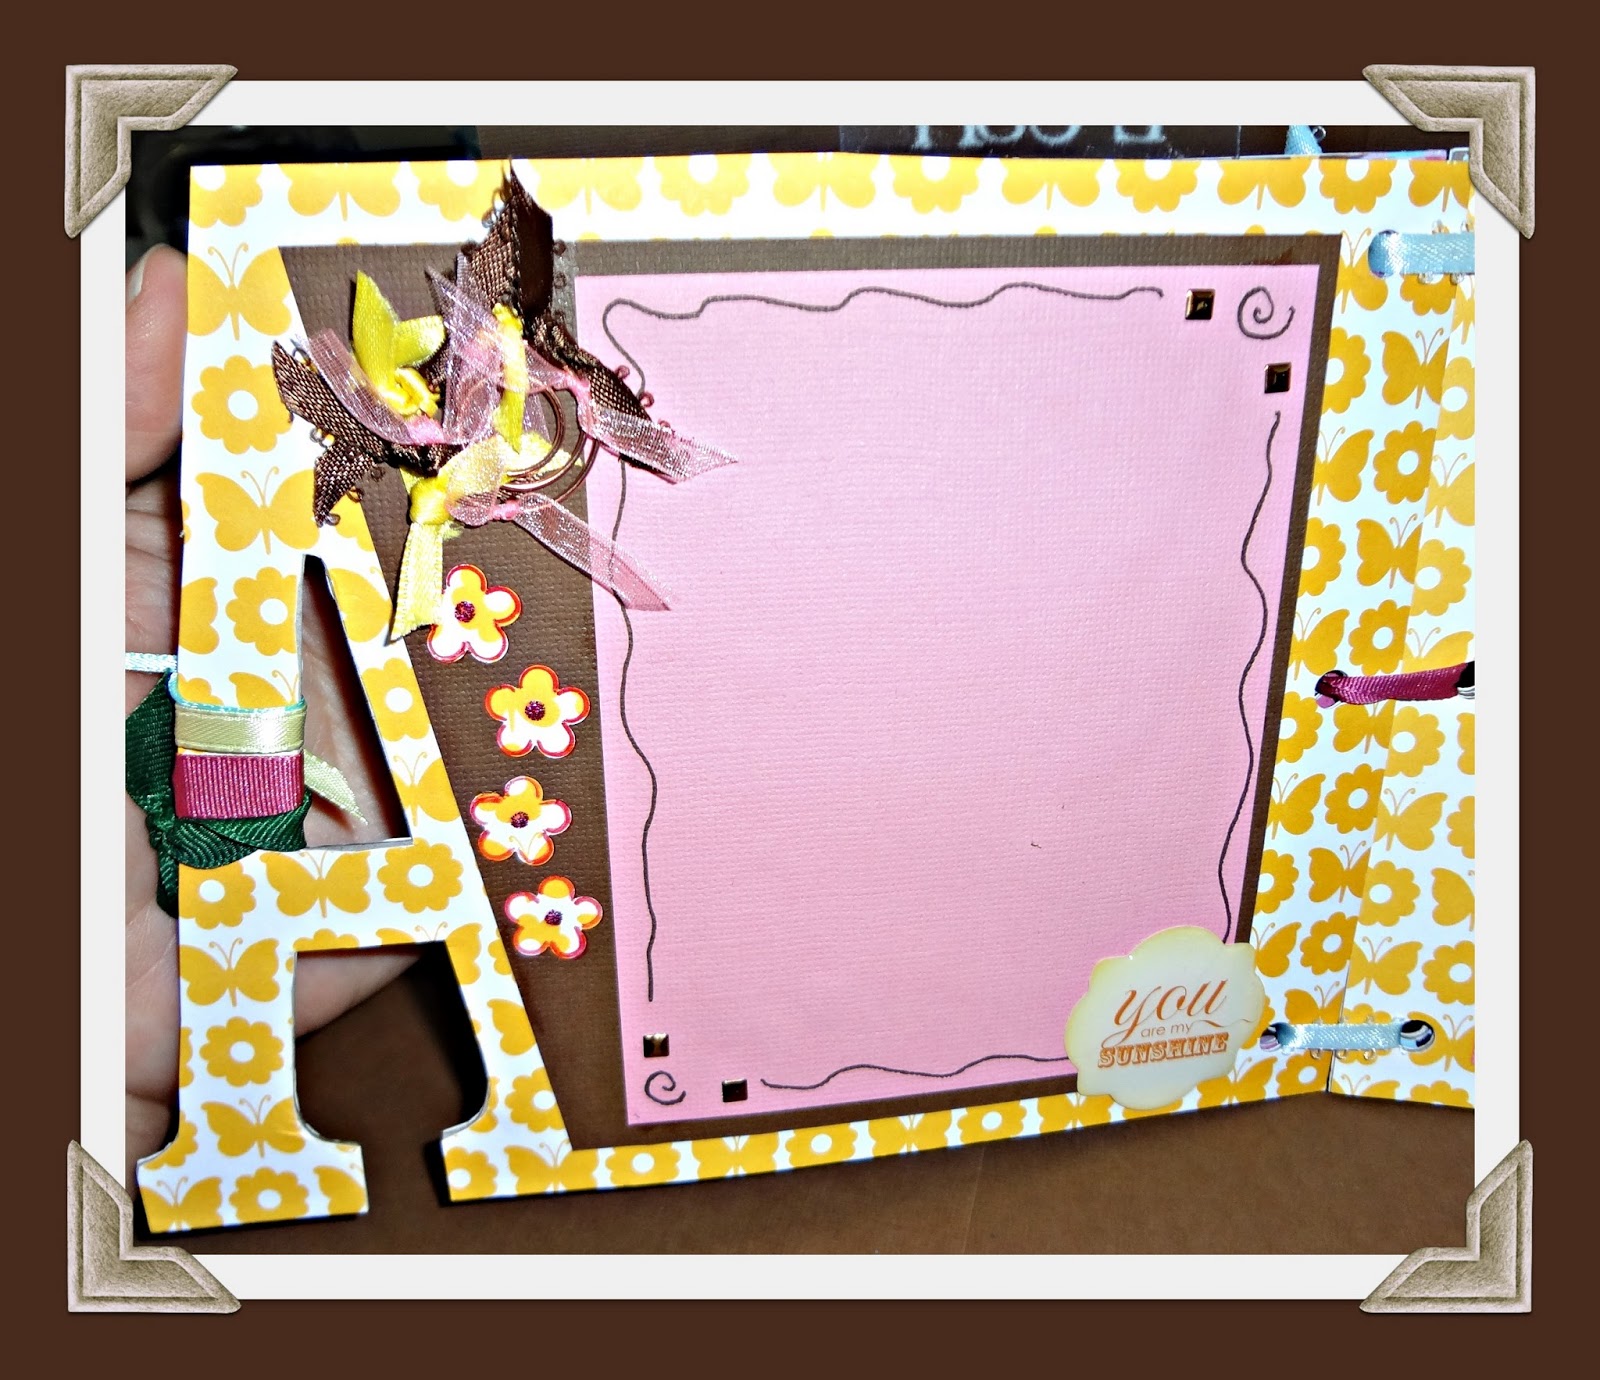
Backside of "A" covered in yellow and white flower/butterfly scrapbook paper. photo area made with pink & brown paper. copper squares, swirl with ribbon and flowers punched out of the side topped with You are my Sunshine Sticker.


Front of "C" covered in same scrapbook paper. this one had a personally designed pink & yellow sun and lots of ribbons.


Back of "C"covered in brown & light blue polka dotted scrapbook paper. saying area made of turquoise and brown paper, outlined with brown marker with blue & pink flowers bradded in. the state OR was made from DIYthickers covered with stampendous - steel blue crushed glass glitter.


Front of "H" Covered in blue & brown scrapbook paper, photo area made with pink & brown paper with fun turquoise & pink clip. 2013 made with tim holtz ideology stripes grungeboard, covered with tim holtz distress ink - picked raspberry & pumice stone. finished with the 4 colors of ribbon tied to the bottom of the "H"

and there you have it. 
This was so much fun to put together. I still have a Love and blank ones from BoBunny to play with. 


Happy Crafting!!

Carrie


Linky Parties


Bubbly Nature Creations          DIY By Design                    Lil Luna
Someday Crafts                        the 36th Avenue

Monday, January 7, 2013

Organizing and making your Linen Closet Pretty

How many of you have the wire racks in your linen closet. Even though they are easily installed and can hold quite a bit, things like to fall between the cracks. So I decided to fix that problem. 

You will need cardboard, 12x12 scrapbooking paper (any design you wish), white paper (I used card stock), adhesive ( I used my pink scotch advanced tape glider), scissors, ruler, pen, marker and alligator clips.


So start off with some card board. I used mailers that I had sitting around. ( this is a good way to reuse mailers that you receive in the mail.

I picked a cool black and white designed paper (by doodlebugs) and got out my handy dandy tape glider. If you don't have one of these you need to get one, they are fantastic.

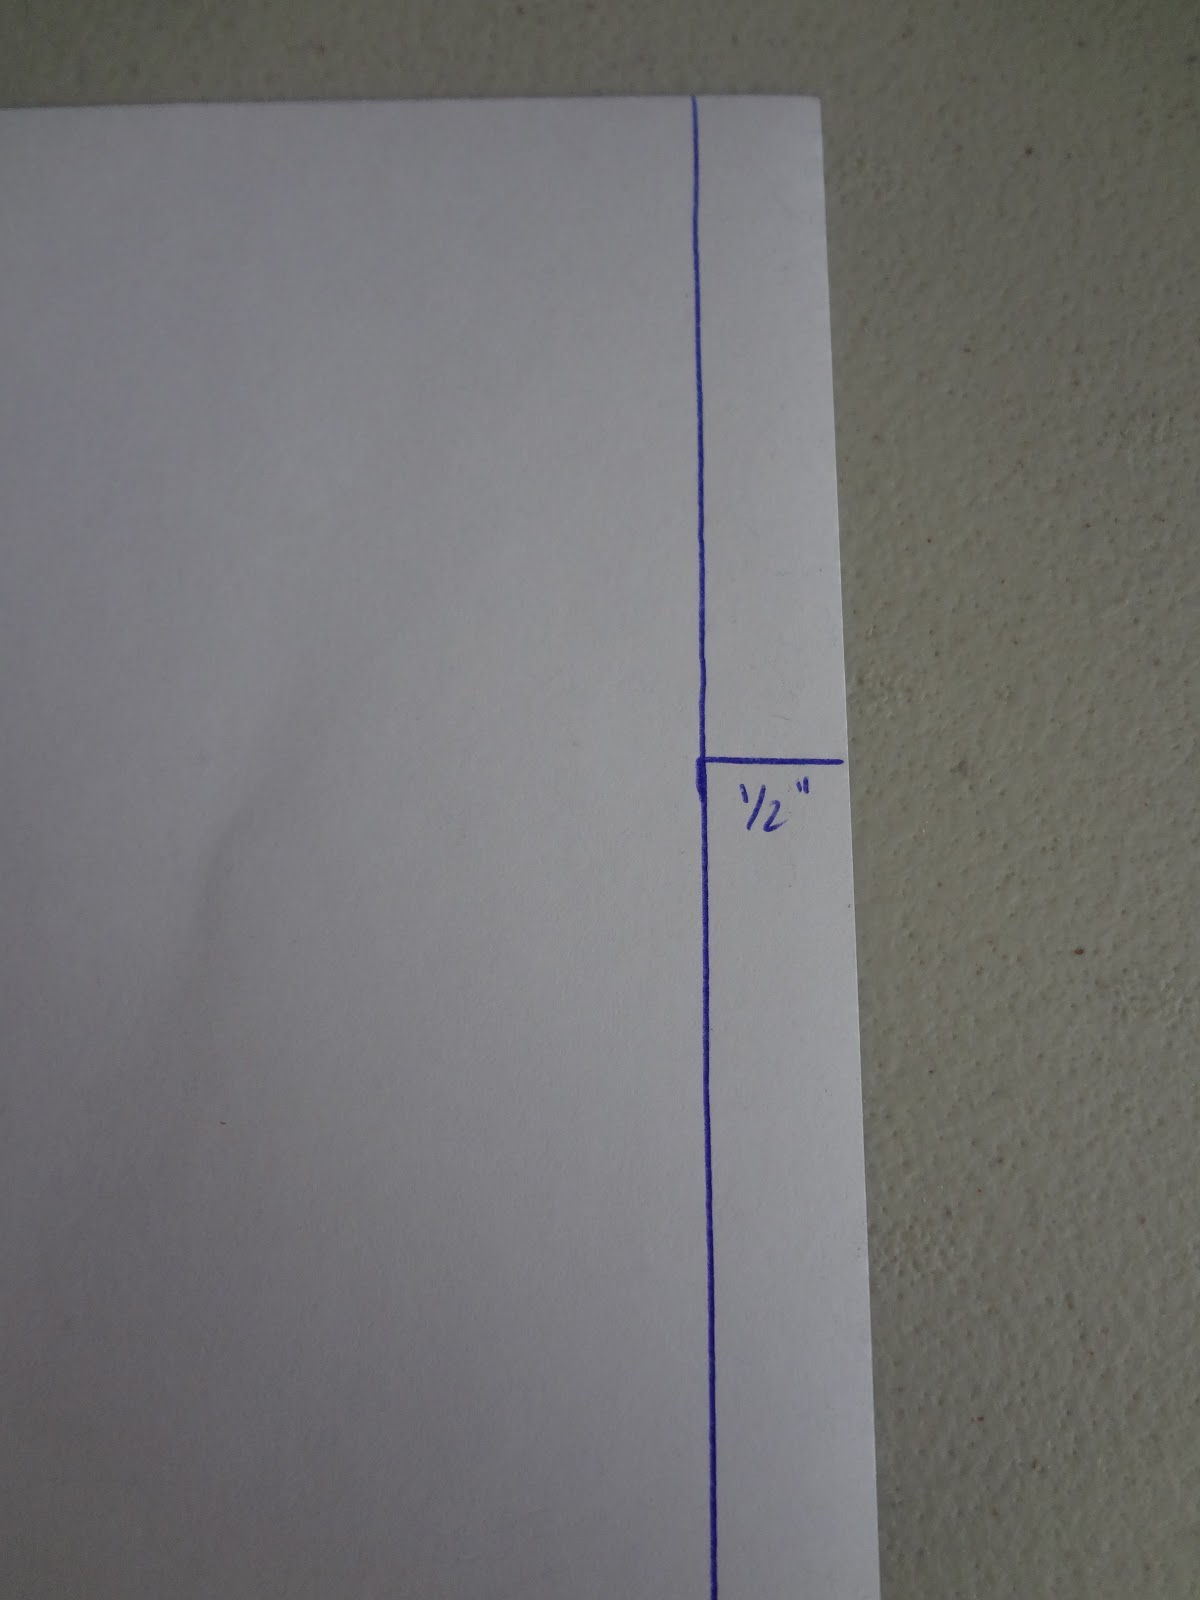
Each of my cardboard sheets measured 20 1/2" x 11" approx. So I needed (2) 12x12 sheets of scrapbook paper per sheet of cardboard. Now I marked on the back of my scrapbook paper a 1/2" line (this is where you are going to fold it over the edges on the side. Do this on both sheets of paper. (put the line on the R side of the paper that is going on the L side and the opposite way for the R side. I ran my tape glide parallel to that line and also added a strip down the opposite side of the paper and 2 down the middle. (R photo shows the tape areas)

 Once the Adhesive is on the scrapbook paper. Grab your card board sheet and line it up to the 1/2" mark (remember this is one of the sides NOT the front. Just so you know the reason I cut my cardboard sheet to 11" High was so I could wrap the paper over the front area.

Your card board sheet should look like this now. with 3 edges have an overhang.
 To fold. Do the sides first. Run adhesive down both sides on the white area 
and then fold over the edge of the cardboard. 

Now do the same thing to the front piece. 


Photo of the scrapbook paper folding over the edge
Perfect corners!!!


Here is what the piece should look like once you are done. 
Now we need some labels so things will be all sorts of crazy organized.

You will need another piece of the same 12x12 scrapbook paper, l
eft over bits of cardboard and a piece of white paper.
Here are the dimensions for each piece you need to cut out
 (you will need 1 of each 3 pieces for each label):
Patterned Scrapbook Paper: 4"x 5"
Cardboard: 4"x 2 1/2"
White Paper: 3 1/2" x 2
Extra white piece (you will only need 1 of these): 3' x 1 1/2"
 Take your scrapbook paper and the card stock and place the card stock in the middle of the backside of the paper. Make these lines. Now put glue on back of card stock and place in the rectangle.
 Just like the larger pieces do the sides first.
 Now do the top and bottom. It does not matter if any of the cardboard is showing because you won't see it when you put it up.
 Here is what the front looks like.
 Take a marker and run it around the edges of your white sheet. This will make it pop a bit more.
OK this is where the small white sheet comes in that you only have to cut once. Place it in the middle of your white sheet and trace around with the same marker. This makes a border.

 Now you can personalize these to fit your needs. 
 Take a couple Alligator clips and hang from the wire shelving under what that shelf is holding.
 Here is a before shot. things just didn't want to stay where they should.
 and here are a couple after shots. My closet looks so much better and anyone could find what they were looking for now.


Monday, October 8, 2012

Halloween Giveaway

This is our first ever 

Crafty Night Owl Giveaway


You will receive 3 Nightmare Before Christmas Die Cuts
1 Werewolf, 1 Jack Skellington and 1 Sally
These die cuts you won't find anywhere else in the world. 
that's right.... in the world!!!!!
These were donated by SnugglyBuggs

So if you would like to enter the drawing for this gotta have it giveaway. 
You need to write a comment at the bottom of this post.

Now if you would like to add your name in for a 2nd opportunity, go to our facebook page, https://www.facebook.com/Craftynightowls and like us.

and for a 3rd ticket in the pot...
if you share this post through facebook to any of your friends you will gain a 3rd opportunity.

We are trying to get ourselves out there and as you all know the more exposure the better. 

This giveaway will end Oct 31st midnight. 

Think of all the fun Halloween pages or cards you can make with these 3 gems

Werewolf, Jack Skellington and Sally

Werewolf

Jack Skellington

Sally

This giveaway is closed:

The happy winner is: Lauren Bridgeman