Today I am going to share some photos of my newest invitation I recently made. They turned out so dang cute.
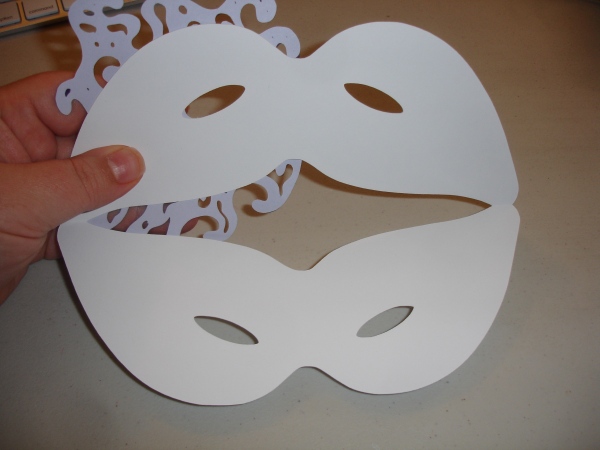
So start off with a basic mask shape and cut it out.
Once I had the base mask, I then traced it onto a piece of copy paper.
Now because I wanted to make sure they fit the envelopes I have for them. I took measurements and then drew a box around the mask so that I would know how much room I had to work with.
Here is the fun part, the design. I first drew it out in pencil. Then when I was happy with the design I drew it in with a black marker.
Once the drawing was complete I created a die cut for it and started cutting them out.
This mask had 2 layers of color. the first layer (which was done in lavender) was laid onto the base mask.
Then the 2nd layer (which was done in a dark purple) was layered on next.
Now you can go crazy or keep it simple. I took gold glitter glue around the eyes. (i know it’s hard to see this step), then added bronzed mica fragments over the right eye (this is made by stampendous) and last but not least added two rhinestones, one on each side.
Ok it wouldn’t be a real invite without a place to put all your info. So I cut out yet another piece which mirrored the base mask but bigger.
Glue your mask onto the white piece and fold over. You can now add your info to the inside.
Here is a shot of the final invitation. Isn’t it just lovely. I have had so much fun working on this one.


No comments:
Post a Comment